Embroidery is a beautiful art form that allows you to express your creativity and create stunning designs on fabric. However, sometimes embroidery machines can run into problems, such as birdnesting. Birdnesting is when the thread on the underside of the fabric becomes tangled and creates a messy knot, resembling a bird’s nest. This can be frustrating and time-consuming to fix, but with the right steps and materials, it is possible to how to fix birdnesting on embroidery machine.
Understanding and resolving:
Birdnesting issues in embroidery machines
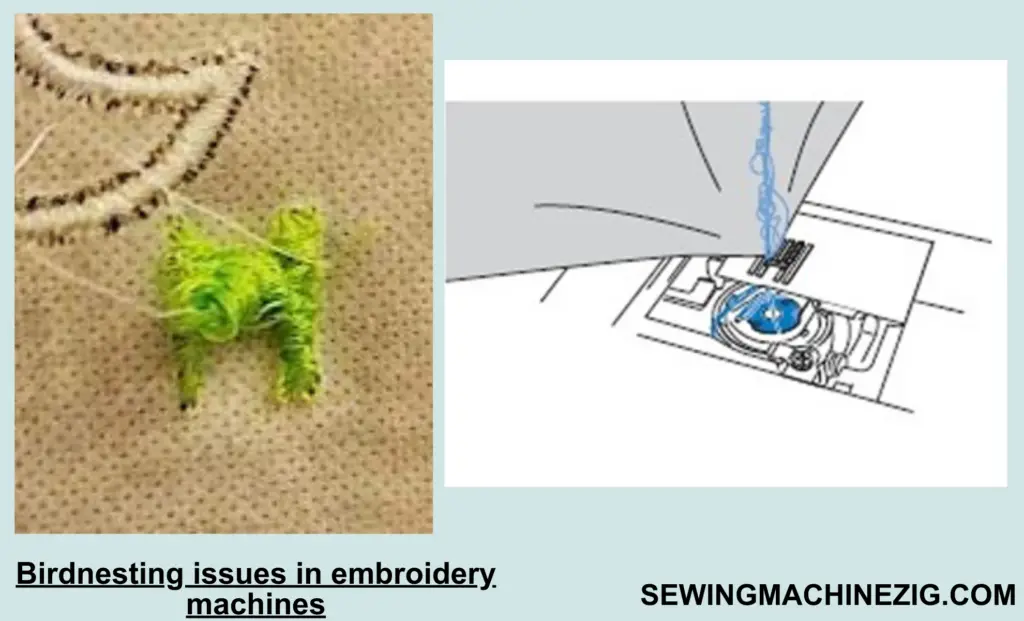
Birdnesting can occur due to a variety of reasons, including incorrect threading, tension, or hooping, a damaged or dull needle, or a poorly wound bobbin. It can be especially frustrating when working on a complicated design or intricate pattern, as it can ruin hours of hard work and effort. In this article, We will discuss how to fix birdnesting on embroidery machine. Why it happens and how to prevent it to happen again and most importantly its solution.
Fortunately, there are ways to how to fix birdnesting on embroidery machine. By following a few simple steps and using the right materials, you can troubleshoot and fix the issue quickly and easily. These steps include checking the needle, re-threading the machine, adjusting the tension, checking the bobbin, cleaning the device, using the correct stabilizer, adjusting the hoop, and slowing down.
How to prevent and fix birdnesting in your embroidery machine
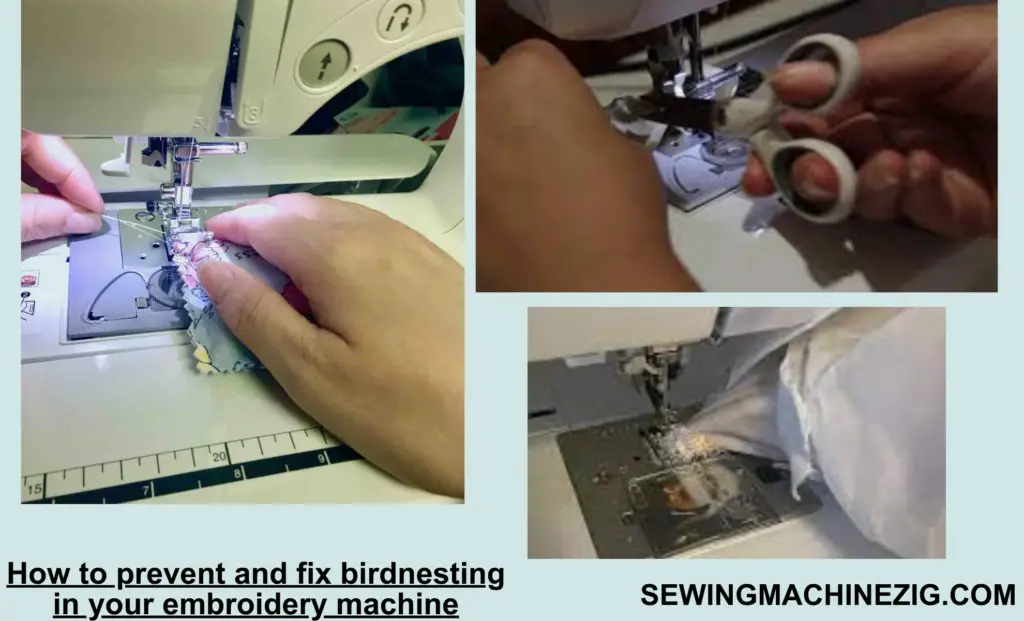
Embroidery is a rewarding hobby requiring patience, attention to detail, and skill. By learning how to fix birdnesting on an embroidery machine, you can continue to enjoy this beautiful art form and create stunning designs without any issues.
Here are the materials needed and the steps for how to fix birdnesting on embroidery machine:
Materials:
- Embroidery machine
- New needle
- Embroidery thread
- Bobbin thread
- Bobbin
- Stabilizer
- Fabric
- Scissors
- Tweezers
- Soft-bristled brush
Resolving the problem of birdnesting on embroidery machines
Step-by-step Guide:
Step 1: Check the Needle:
The first step in fixing birdnesting on an embroidery machine is to check the needle. Turn off the machine and remove the needle using a screwdriver. Inspect the needle for any damage or dullness. If the needle is damaged or dull, replace it with a new one that is the correct size for the fabric you are using.
Step 2: Re-thread the Machine:
Incorrect threading can cause birdnesting. Turn off the machine and remove the thread from the machine. Check the threading of the machine and re-thread it if necessary. Make sure the thread is correctly placed in all the guides, tension discs, and the needle.
Step 3: Adjust the Tension:
Incorrect tension can cause birdnesting. Turn on the machine and adjust the tension of the machine by tightening or loosening the upper thread tension until the stitches are even and there is no birdnesting.
Step 4: Check the Bobbin:
A poorly wound bobbin can cause birdnesting. Remove the bobbin case and check the bobbin to ensure it is wound correctly and evenly. Replace it if necessary.
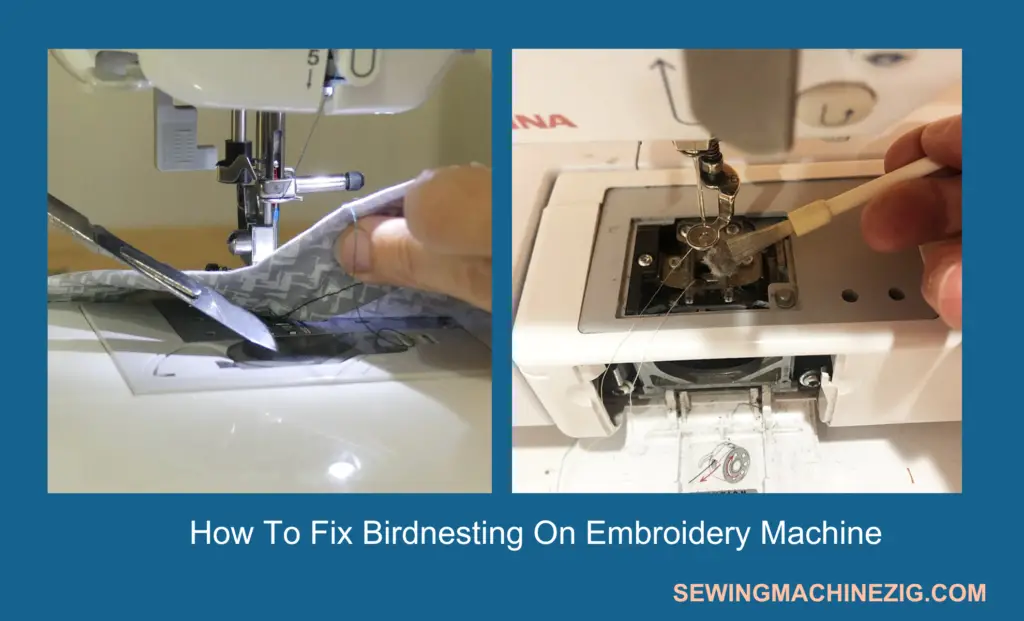
Step 5: Clean the Machine
Dirt and debris can accumulate in the machine, causing birdnesting. Turn off the machine and unplug it. Use a soft-bristled brush and tweezers to remove any debris from the machine, including the bobbin case and hook.
Step 6: Use the Correct Stabilizer:
Using the correct stabilizer can prevent birdnesting. Choose a stabilizer that matches the fabric and design you are working with. Cut the stabilizer to fit the hoop and place it on the back of the fabric.
Step 7: Adjust the Hoop:
An improperly adjusted hoop can cause birdnesting. Make sure the fabric is hooped correctly and securely, without any wrinkles or folds. Place the fabric in the hoop and tighten the hoop screws.
Step 8: Slow Down:
Embroidering at high speeds can cause birdnesting. Slow down the machine and take your time to ensure the stitches are even and the thread does not tangle. Start the machine and embroider the design.
By following these steps and using the necessary materials, you can easily learn how to fix birdnesting on embroidery machine. and continue to create beautiful designs without any issues.
Tips for preventing birdnesting in your embroidery machine
Check the thread tension:
Incorrect thread tension is one of the most common causes of birdnesting. If the tension is too tight or too loose, it can cause the thread to tangle and create birdnesting. You can check the tension by running a test stitch on a piece of fabric and examining the stitches. Adjust the tension until the stitches are even and flat. This is another part of how to fix birdnesting on embroidery machine.
1. Check the needle:
A bent, dull, or incorrect size needle can cause birdnesting. Make sure you are using the correct needle for the type of fabric you are embroidering. Replace the needle if it is bent or dull.
2. Check the thread path:
Make sure the thread is properly threaded through the machine. Check the manual or the manufacturer’s website to ensure that you have threaded the machine correctly.
3. Clean the machine:
Dust, lint, and debris can accumulate in the machine and cause birdnesting. Regularly clean the machine, especially the bobbin area, to prevent this from happening.
4. Use high-quality thread:
Cheap, low-quality thread can also cause birdnesting. Invest in a high-quality thread that is suitable for the type of fabric you are embroidering.
5. Slow down:
Embroidering too quickly can cause birdnesting. Slow down the embroidery machine to reduce the risk of thread tangling.
Remember:
Embroidery requires patience and practice, so don’t get discouraged on how to fix birdnesting on embroidery machine. With a little bit of troubleshooting and practice, you will be able to create stunning embroidery designs without any issues.
Expert advice on dealing with how to fix birdnesting on embroidery machine.
Conclusion:
Birdnesting can be a frustrating issue to deal with when working with an embroidery machine, but it can be resolved with proper troubleshooting and maintenance. By following the steps and tips outlined in this guide, you can quickly and easily learn how to fix birdnesting on an embroidery machine and continue creating beautiful and high-quality embroidery projects.
Remember to always use high-quality materials, practice good hooping and stabilizing techniques, and regularly maintain your machine to prevent birdnesting and other embroidery issues from occurring in the first place. With patience and a little practice, you can master the art of embroidery and create stunning designs without any frustrating birdnesting issues. I hope now you’re fully aware of how to fix birdnesting on embroidery machine.
how to fix birdnesting on embroidery machine.
FAQs:
Q 1: What is birdnesting on an embroidery machine?
A: Birdnesting is a common embroidery issue where the thread gets tangled up under the fabric, creating a bird’s nest-like mess.
Q 2: How can I prevent birdnesting?
A: To prevent birdnesting, make sure your machine is properly threaded, use the correct needle and thread, ensure proper tension, and use the correct stabilizer and hooping technique.
Q 3: Can the type of thread affect birdnesting?
A: Yes, using the wrong type of thread can cause birdnesting. Make sure to use high-quality thread that is suitable for your project and machine.
Q 4: How do I know if the tension is causing birdnesting?
A: If the thread is looping or bunching up under the fabric, it could be a sign of tension issues. Adjust the tension and test sew to see if the problem has been resolved.
Q 5: How often should I change the bobbin?
A: It is recommended to change the bobbin after every project or every eight hours of use to ensure smooth and even stitching.
Q 6: What should I do if birdnesting continues to occur?
A: If birdnesting continues to be a problem, try rethreading the machine, changing the needle, and checking the bobbin..

