Sewing designs on quilts is a captivating and fulfilling way to transform a simple quilt into a mesmerizing work of art. Quilting itself is a cherished craft that has been passed down through generations, and adding unique designs takes it to new heights of creativity and expression. Sp keeping in mind all your needs we came up with the detailed guide with material usage on How to sew designs on quilts.
How to sew designs on quilts well by sewing intricate patterns, motifs, or images onto your quilt, you can create a visually stunning piece that tells a story, captures memories, or simply exudes beauty.
In this guide, we will delve into the art of How to sew designs on quilts, exploring the techniques and tools that can bring your vision to life. Whether you’re a quilting enthusiast looking to expand your repertoire or a beginner eager to embark on a creative journey, this article will provide you with the knowledge and inspiration to incorporate captivating designs into your quilts.
We will explore various methods, How to sew designs on quilts from hand-sewing to machine techniques, each offering its own advantages and possibilities. Additionally, we’ll discuss design considerations, such as selecting appropriate fabrics, planning your layout, and choosing the right thread colors to enhance your design. So let’s get started.
Materials Needed:
- Quilt Fabric: Choose a sturdy and smooth fabric for your quilt top, such as cotton or quilting fabric.
- Quilt Batting: This provides the padding and insulation between the quilt top and backing fabric.
- Backing Fabric: Select a fabric that complements the design of your quilt top.
- Quilting Thread: Use a thread that matches or complements your fabric colors.
- Needles: Choose hand quilting needles that are sharp and have a small eye for easy threading.
- Quilting Hoop Or Frame: This helps to stabilize the layers of your quilt while working on the design.
- Fabric Marking Pen Or Chalk: Use this to mark your design on the quilt top.
Step-by-Step Guide:
Step 1: Prepare Your Quilt Sandwich:
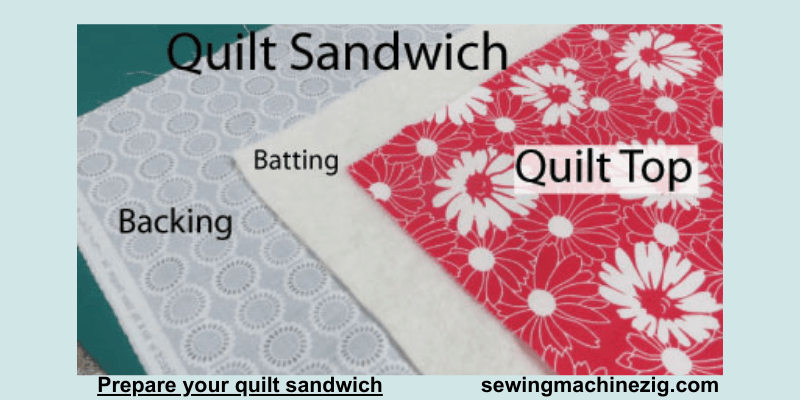
Lay the backing fabric on a flat surface, wrong side up. Place the quilt batting on top, and then layer the quilt top, right side up, over the batting. Smooth out any wrinkles or creases.
Example: Leave approximately 1 inch of extra fabric on all sides of the quilt top to ensure you have enough room for your design.
Step 2: Mark The Star Design:
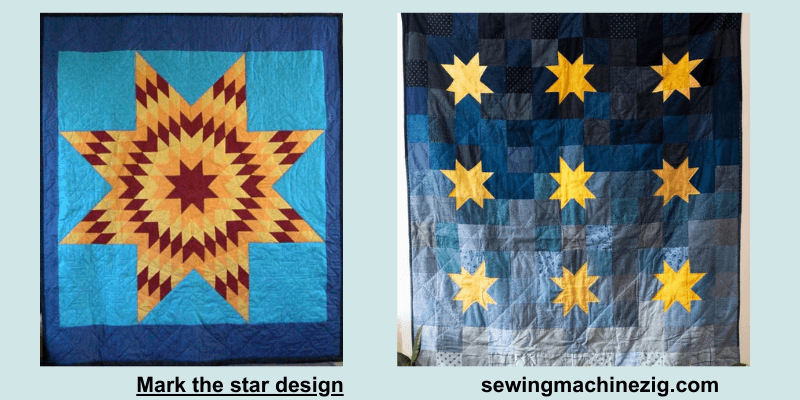
Using a fabric marking pen or chalk, lightly sketch the star design onto the quilt top. Start by drawing a large square or rectangle for the star’s outline, and then mark the points where the star’s arms will begin and end.
Example: Leave about 1 inch of space between the left edge of the quilt top and the start of the star design.
Step 3: Thread Your Needle:
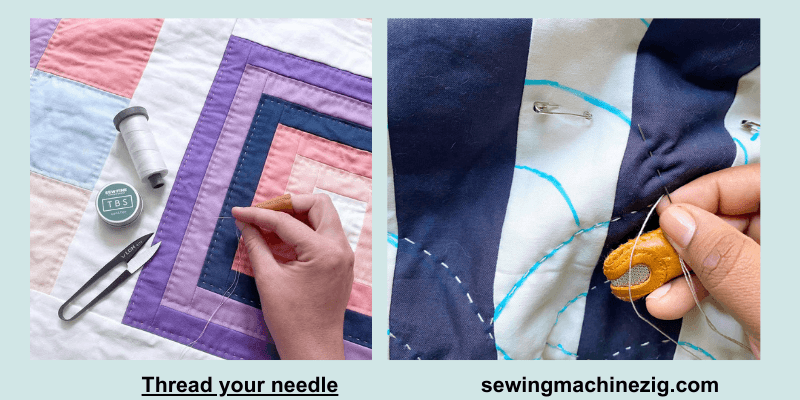
Thread your needle with a suitable quilting thread, and tie a knot at the end.
Example: Leave a 6-inch tail of thread before making the knot for easier maneuverability.
Step 4: Begin Quilting The Star Outline:
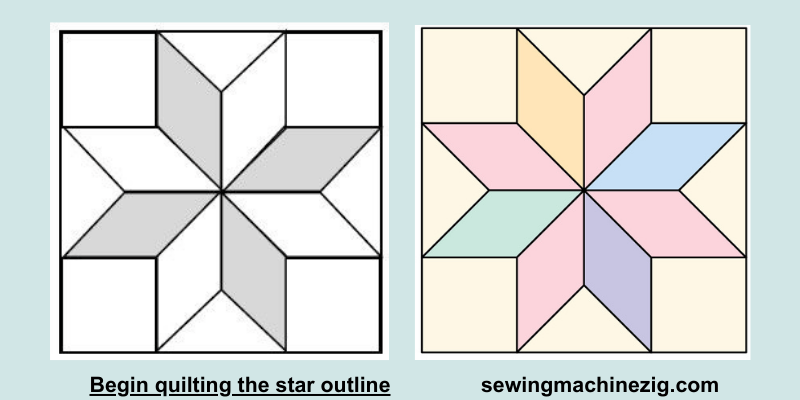
Start quilting by bringing the needle up through the quilt top at one corner of the star’s outline. Stitch along the outline, making small running stitches approximately ¼ inch apart.
Example: Leave about ⅜ inch of space between the stitching and the marked star outline.
Step 5: Create The Star’s Arms:
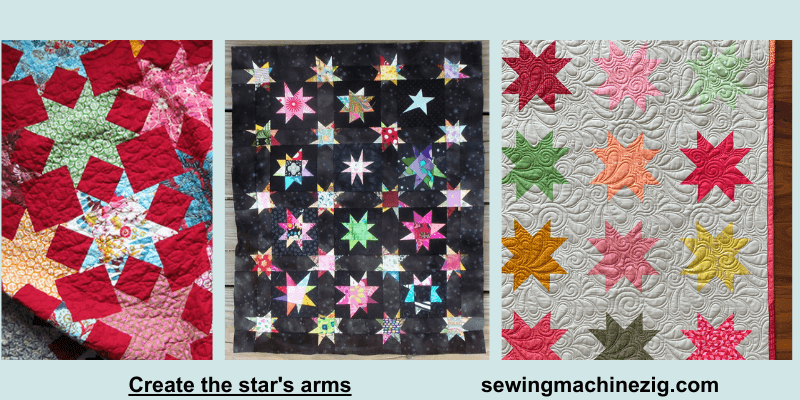
Once the outline is quilted, move on to the star’s arms. Bring the needle up through the quilt top at the marked starting point of one arm, and stitch along the marked line until you reach the end of the arm.
Example: Leave about ¼ inch of space between the stitching and the edge of the star’s arm.
Step 6: Add Details To The Star’s Arms:
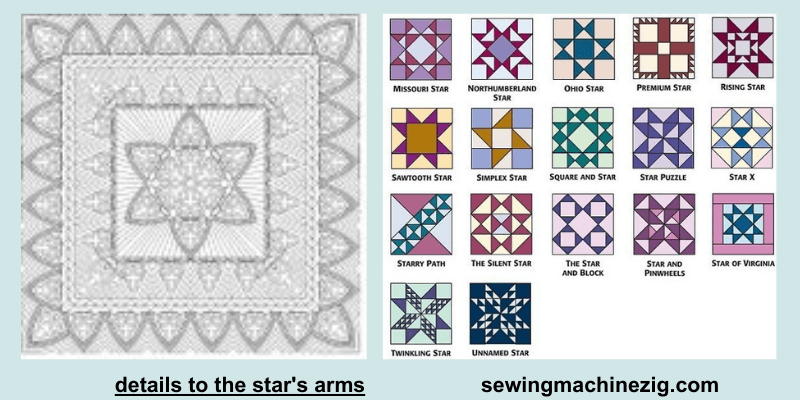
After quilting the basic star arm shape, you can add additional details such as cross-hatching or smaller stitches inside the arm.
Example: Keep the details within about ¼ inch of the arm’s edge for a clean and polished look.
Step 7: Secure Your Stitches:
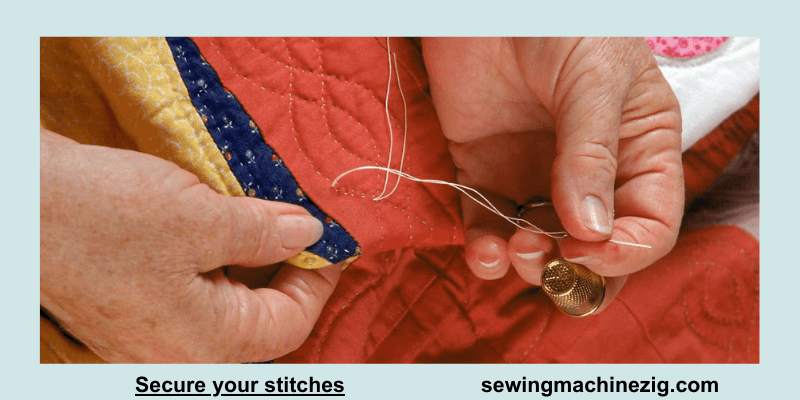
After completing a star arm, tie off the thread on the backside of the quilt, ensuring it is securely fastened.
Step 8: Continue Quilting:
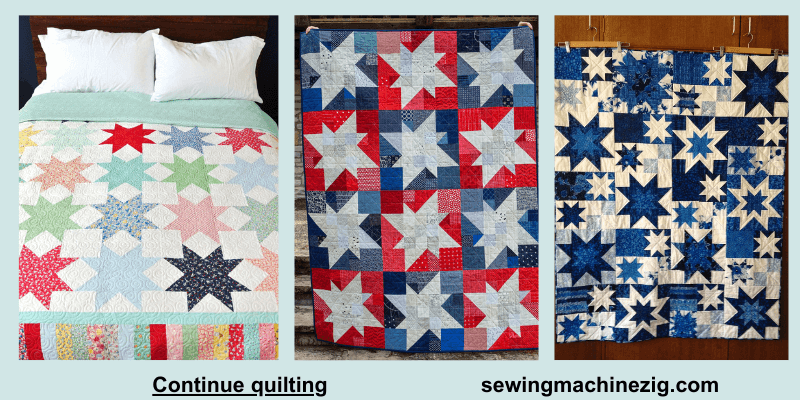
Move on to the next star arm, repeating steps 5 to 7 until you have quilted all the arms of the star. Then, move on to quilting the star’s center.
Example: Leave about ½ inch of space between the stitching and the edge of the star’s center.
Remember, the measurements provided in the examples are approximate and can be adjusted based on the specific size and spacing you desire for your quilt design. Feel free to experiment with different proportions and distances to achieve the desired look. Hopefully you learn How to sew designs on quilts and enjoy the process of sewing the star design by hand, and watch as your quilt comes to life with intricate and beautiful details.
How To Make A Quilt Pattern
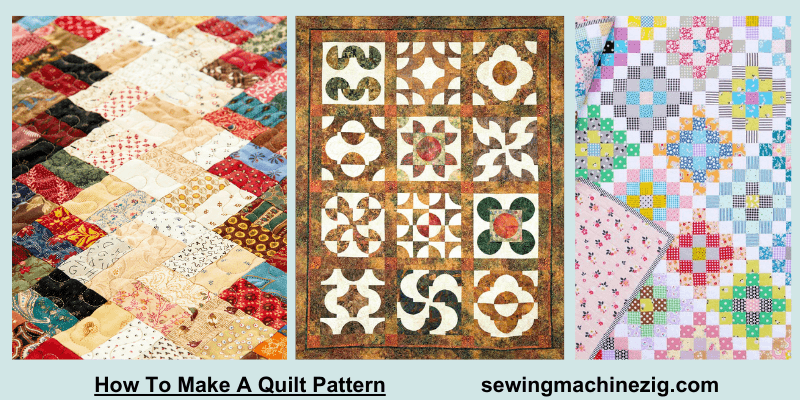
As i mentioned above How to sew designs on quilts so it is important for you to know Creating a quilt pattern is an exciting and creative process that allows you to design a unique and personalized quilt. Whether you’re a beginner or an experienced quilter, it’s important to learn quilt patterns for How to sew designs on quilts and making your own quilt pattern gives you the freedom to choose block designs, layout arrangements, and color combinations.
By carefully planning and sketching your pattern, you can bring your vision to life and create a quilt that reflects your style and artistic expression. In this guide, we’ll explore the steps involved in making a quilt pattern and offer tips for designing a quilt that will be both beautiful and meaningful. First learn How to sew designs on quilts then step by step follow this article on, How to make a quilt patterns then you can achieve a professional looking quilt patterns.
Materials Needed:
- Graph Paper Or Quilting Design Software
- Pencil Or Pen
- Ruler Or Straight Edge
- Fabric Swatches Or Color Pencils/Markers (Optional)
Step-by-Step Guide:
Step 1: Determine The Quilt Size:
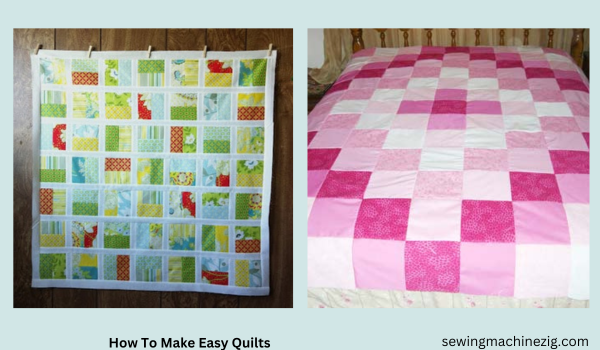
Decide on the desired dimensions of your quilt, such as a lap quilt or a twin size.
Example: Let’s aim for a lap quilt measuring approximately 50 inches by 60 inches.
Step 2: Choose A Block Design:
Select the type of block you want to use in your quilt. Consider traditional designs like the nine-patch, log cabin, or star blocks, or explore modern and geometric patterns.
Example: Let’s choose the nine-patch block for our quilt pattern.
Step 3: Create A Grid:
On the graph paper or using quilting design software, draw a grid that matches the desired size of your quilt. Each square on the grid can represent a specific measurement, such as 1 inch or 2 inches.
Example: Draw a grid with 10 squares horizontally and 12 squares vertically, representing a 10-inch by 12-inch block size.
Step 4: Plan The Block Placement:
Decide on the placement of each block within the quilt pattern. Use the grid to sketch the blocks and their arrangement.
Example: Draw nine-patch blocks within the grid, with each patch measuring 2 inches by 2 inches.
Step 5: Add Sashing And Borders (Optional):
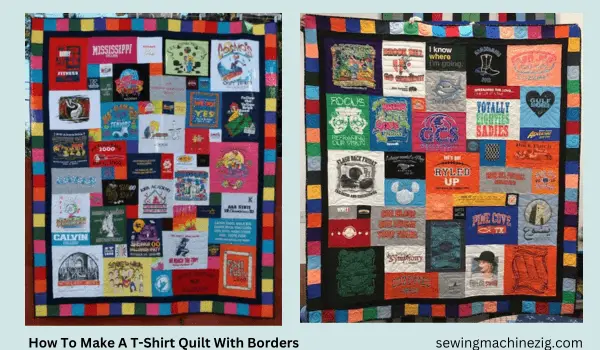
Consider adding sashing (strips of fabric between blocks) and borders to enhance the design. Determine the width of the sashing and borders.
Example: Add 1-inch-wide sashing between each nine-patch block and a 2-inch-wide border around the entire quilt.
Step 6: Note Seam Allowances:
Take into account seam allowances when planning the quilt pattern. Seam allowances are typically ¼ inch, but it can vary based on personal preference.
Example: Leave a ¼ inch seam allowance on all sides of each block and between blocks.
Step 7: Calculate Fabric Requirements:
Estimate the amount of fabric needed for each block, sashing, and borders based on the measurements of the pattern. Consider adding extra fabric for backing and binding.
Example: Calculate the fabric requirements based on the measurements of the nine-patch blocks, sashing, and border.
Step 8: Document The Pattern:
Once you’re satisfied with your quilt pattern, make clear notes, measurements, and diagrams to document the design. This will help you during the quilt-making process.
Example: Write down the measurements of each block, sashing width, and border width. Include any additional notes or color choices.
Remember: The examples provided are for illustrative purposes, and the measurements can be adjusted based on your specific preferences and quilt size. The key is to carefully plan and sketch your pattern, allowing room for seam allowances and considering the overall design aesthetics. Have fun exploring different block arrangements, color combinations, and personal touches to create a quilt pattern that is uniquely yours. Making quilt patterns can be easy if you follow and work on above article on How to sew designs on quilts because the article’s are written in easy to advance level making quilt patterns can we hard for starters be patient it take time and effords.
Beginner’s Quilting Stitch Patterns
If you have learn How to sew designs on quilts and implemented it many time’s with success result. Then For beginners in quilting, learning various stitch patterns is an essential step towards creating beautiful and functional quilts. Mastering basic stitch patterns not only adds texture and visual interest to your quilt but also helps improve your sewing skills.
From straight line quilting to free-motion quilting, these beginner-friendly stitch patterns provide a solid foundation for quilting projects. Whether you prefer simple and structured designs or intricate free-form patterns.
This guide i will introduce quilting stitch patterns so that you can learn How to sew designs on quilts, to a range of beginner-friendly quilting stitch patterns. With practice and experimentation, you’ll soon be able to incorporate these stitch patterns into your quilts, adding your personal touch to each piece.
1. Straight Line Quilting:
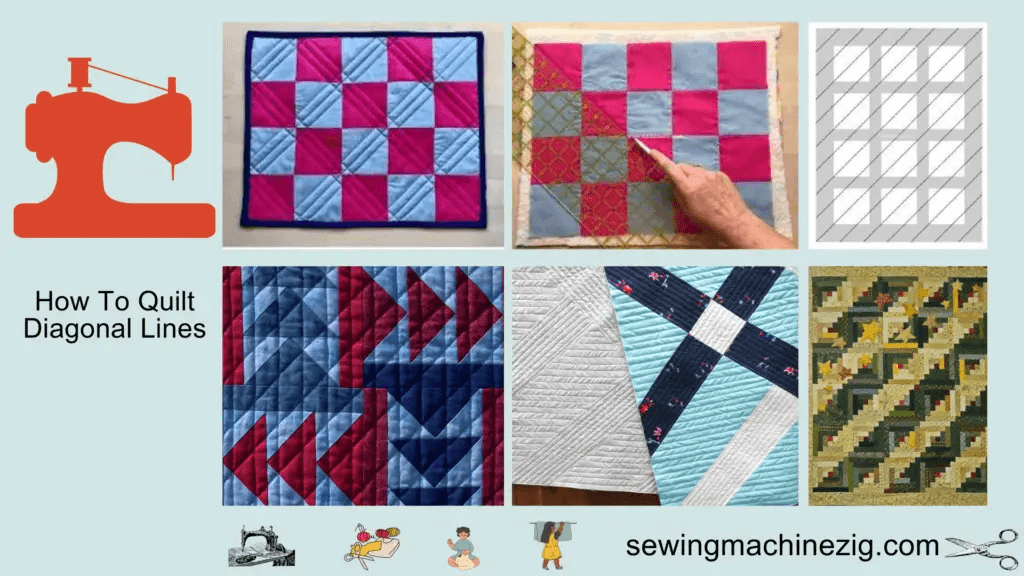
Straight line quilting is simple yet effective. Use a walking foot on your sewing machine to achieve even stitches. You can quilt parallel lines, diagonal lines, or a combination of both to add texture and stability to your quilt top.
Example: Quilt parallel lines approximately 1 inch apart across the entire quilt.
2. Stippling:
Stippling, also known as meandering, involves creating a random, curvy pattern of closely spaced stitches. It’s a great way to add texture and depth to your quilt.
Example: Begin stippling by making small curves and loops, gradually moving across the quilt in a free-flowing manner.
3. Echo Quilting:
Echo quilting involves stitching around a shape, gradually increasing the distance between the lines to create a series of concentric shapes. It works well for highlighting specific motifs or appliqué designs on your quilt.
Example: Stitch around a star block, gradually increasing the spacing between each echo line.
4. Crosshatch Quilting:
Crosshatch quilting creates a grid-like pattern by stitching parallel lines in one direction and then stitching perpendicular lines to form a crisscross effect. This pattern provides a classic and structured look to your quilt.
Example: Quilt parallel lines 1 inch apart vertically and horizontally, creating a crosshatch pattern across the entire quilt.
5. Free-Motion Quilting:
Free-motion quilting allows you to create intricate designs and patterns by moving the fabric freely under the needle of your sewing machine. This technique requires a darning or free-motion foot.
Example: Practice free-motion quilting by doodling or stitching continuous curves, loops, swirls, or any other shapes you feel comfortable with.
6. Diagonal Quilting:
Diagonal quilting involves stitching lines at a 45-degree angle across the quilt. This pattern adds interest and movement to your quilt design.
Example: Quilt diagonal lines approximately 1 inch apart, starting from one corner of the quilt and moving towards the opposite corner.
Remember: Practice is key when learning quilting stitch patterns. Start with small projects or practice swatches before moving on to larger quilts. Experiment with different stitch lengths and thread colors to achieve the desired effect. With time and practice, you’ll gain confidence and develop your own unique quilting style.
How Do You Make Quilt Designs
Quilt designs are the creative foundation for any quilt, and they provide endless possibilities for expression and artistic exploration. The process of making a quilt design involves combining various elements such as colors, shapes, patterns, and textures to create a unique and cohesive composition. making quilt designs and How to sew designs on quilts have few related process.
Whether you’re a beginner or an experienced quilter, designing a quilt can be a rewarding and enjoyable process that allows you to showcase your creativity and express your personal style. In this article, we’ll explore some general steps and considerations for How to sew designs on quilts and making quilt designs that will help you create your own unique and beautiful quilt.
1. Inspiration And Planning:
Gather inspiration from various sources like books, magazines, online resources, or even nature. Look for quilt patterns, color combinations, or design elements that catch your eye. Take time to plan your design by sketching ideas or creating a mood board to visualize your concept.
2. Choose A Quilt Size And Shape:
Decide on the size and shape of your quilt. Determine if you want to make a traditional square or rectangular quilt, or if you prefer a different shape like a hexagon, star, or even a free-form design.
3. Select A Block Or Motif:
Choose a block or motif that will serve as the building block of your quilt design. Consider traditional patterns like Log Cabin, Nine-Patch, or Flying Geese, or explore modern and artistic motifs. You can use pre-existing block patterns or create your own unique designs.
4. Block Arrangement:
Decide on the arrangement of your blocks within the quilt top. You can create repeating patterns, alternating designs, or even asymmetric layouts. Experiment with different block placements to achieve the desired visual impact.
5. Color Selection:
Choose a color scheme for your quilt design. Consider the mood and theme you want to convey. Play with complementary colors, analogous colors, or monochromatic schemes. Don’t be afraid to mix and match different hues, tones, and shades to create visual interest.
6. Fabric Selection:
Select fabrics that align with your color scheme and design concept. Consider the texture, pattern, and scale of the fabrics to ensure a harmonious composition. Collect swatches or create a fabric palette to visualize how the fabrics will work together.
7. Mock-Up Or Digital Design:
Before cutting and sewing, create a mock-up of your design using fabric swatches or utilize digital quilt design software. This allows you to experiment and see how the various elements of your design come together.
8. Construction And Execution:
Once you’re satisfied with your design, start cutting and sewing the fabric pieces to bring your quilt design to life. Follow your design plan while piecing the blocks together and pay attention to accuracy and seam allowances.
Remember: Quilt designs are highly personal, and there are no set rules. Feel free to experiment, adapt existing patterns, or create entirely new designs that reflect your creativity and style. Allow yourself to explore How to sew designs on quilts and enjoy the process of designing and making your own unique quilts.
How Do You Decorative A Quilt Stitch
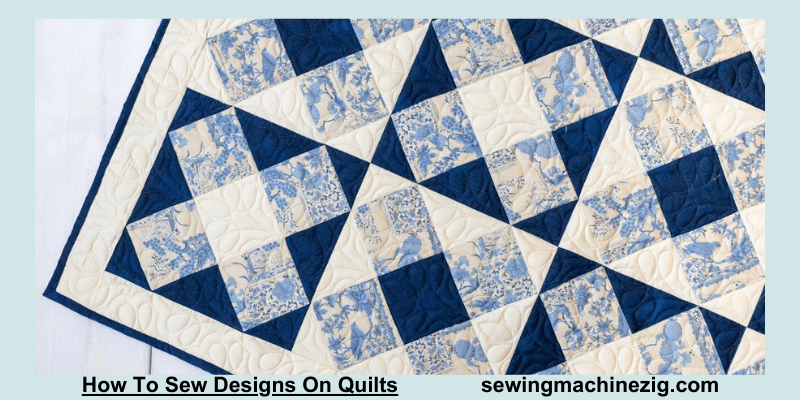
Decorative stitching adds a unique and artistic flair to quilts, transforming them from functional blankets into works of art. By incorporating decorative stitches, you can enhance the visual appeal, texture, and overall design of your quilt.
Whether you prefer intricate free-motion quilting, geometric patterns, or applique stitching, there are numerous techniques to explore. From outlining and echo quilting to experimenting with fill stitches and trapunto quilting, the possibilities for decorative quilt stitches are limitless. In this guide,
I will teach you How to sew designs on quilts on various methods and ideas to help you elevate your quilt stitching and infuse your projects with creativity and individuality.
Materials Needed:
- Quilt Top
- Batting
- Quilt Backing Fabric
- Quilting Thread
- Quilting Needle
- Quilting Hoop Or Frame (Optional)
- Marking Tools (Optional)
- Ruler Or Measuring Tape
Step-By-Step Guide:
Step 1: Prepare The Quilt Sandwich:
Layer the quilt top, batting, and backing fabric together, ensuring they are smooth and aligned. Baste the layers together using safety pins or a basting spray.
Step 2: Select Decorative Stitching Techniques:
Choose the decorative stitching techniques you want to incorporate into your quilt. This could include outline quilting, fill stitches, free-motion quilting, or any combination of techniques.
Step 3: Start With Outline Quilting:
Begin by outlining the main shapes or blocks in your quilt design. Use a straight stitch or a decorative stitch to sew along the edges, securing the layers together and adding emphasis to the design.
Example: Stitch along the outer edges of a star block, approximately ¼ inch from the edge, to create an outline.
Step 4: Explore Fill Stitches:
Experiment with different fill stitches to add texture and interest to larger areas of the quilt. This could involve using decorative stitches like stippling, meandering, or any pattern of your choice.
Example: Fill a flower-shaped block with free-motion quilting in a continuous loop pattern, leaving approximately ½ inch between each loop.
Step 5: Incorporate Free-Motion Quilting:
If you’re comfortable with free-motion quilting, use this technique to create intricate designs and patterns. Move the fabric freely under the needle, allowing your creativity to guide the stitches.
Example: Create swirling vines across a border using free-motion quilting, leaving approximately ¼ inch between each swirl.
Step 6: Consider Appliqué Stitching:
If your quilt includes appliqué pieces, use decorative stitches to secure them to the quilt top. Select a stitch pattern that complements the appliqué design.
Example: Appliqué a leaf motif using a decorative stitch such as a blanket stitch, leaving approximately ⅛ inch between each stitch.
Step 7: Experiment With Trapunto Quilting:
Try trapunto quilting to add dimension to certain areas of your quilt. This technique involves stuffing specific shapes or sections to create a raised effect.
Example: Trapunto quilt a flower petal by stitching around the shape, leaving a small opening to insert batting, and then closing the opening with additional stitches.
Step 8: Finishing Touches:
Once you’ve completed your decorative stitching, trim any excess batting and backing fabric. Remove any basting pins or thread, and give the quilt a final press to ensure everything lays flat.
Remember: The examples provided are for illustration purposes, and the measurements can be adjusted based on personal preference and design choices.
It’s essential to practice and experiment with different decorative stitching techniques to find the ones that best suit your quilt design and you can enjoy How to sew designs on quilts more decorative way, just take your time, enjoy the process, and let your creativity shine through as you decorate your quilt stitch by stitch.
Hand Quilting Vs Machine Quilting Stitches
When it comes to quilting, there are two primary methods for stitching: hand quilting and machine quilting. Hand quilting is a traditional technique that involves stitching the layers of a quilt together by hand, while machine quilting utilizes a sewing machine to achieve the desired stitches. Each method offers unique characteristics and benefits.
In this article, we will explore How to sew designs on quilts and the differences between hand quilting and machine quilting stitches, including their appearance, technique, speed, and overall effect on the quilt.
Whether you prefer the charm of hand quilting or the efficiency of machine quilting, understanding the distinctions between these two techniques will help you make an informed choice for your quilting projects.
Hand Quilting Stitches:
1. Appearance: Hand quilting stitches have a distinctive, organic look with irregularities that reflect the individual quilter’s handwork. They can add a vintage or heirloom quality to quilts.
2. Technique: Hand quilting involves using a quilting needle and thread to stitch through the layers of the quilt sandwich, often using a rocking motion. It requires a slower pace and more physical effort.
3. Usage: Hand quilting is popular for smaller projects, intricate patterns, and quilts with sentimental value. It allows for detailed customization, such as microquilting and elaborate designs.
4. Benefits: Hand quilting offers a tactile experience and a sense of connection to the quilt. It allows for greater control over stitch placement, tension, and overall design. Hand-quilted stitches can be easily removed or adjusted if needed.
Machine Quilting Stitches:
1. Appearance: Machine quilting stitches are more uniform, consistent, and precise compared to hand quilting stitches. They can create intricate and dense patterns or simple, straight lines, depending on the chosen technique.
2. Technique: Machine quilting is done using a sewing machine equipped with a walking foot or a free-motion quilting foot. It allows for faster stitching and the ability to create intricate designs with different stitch lengths and styles.
3. Usage: Machine quilting is well-suited for larger quilts, bed quilts, and projects with time constraints. It offers efficiency and durability, making it ideal for quilts that will be used frequently or washed frequently.
4. Benefits: Machine quilting saves time and effort compared to hand quilting. It allows for the creation of complex designs using decorative stitches, specialty threads, or computerized quilting machines. Machine-quilted stitches are strong and provide excellent longevity.
Considerations:
1. Skill Level: Hand quilting requires more practice and patience to achieve consistent stitches, while machine quilting may be more accessible to beginners or those with limited hand mobility.
2. Time and Efficiency: Hand quilting is a slow and time-consuming process, while machine quilting allows for faster completion of quilting projects.
3. Quilt Size: Hand quilting is manageable for smaller projects, but machine quilting is preferred for larger quilts due to the time and physical effort involved.
4. Quilt Function: Consider the intended use of the quilt. Hand quilting may be preferred for decorative or display quilts, while machine quilting is suitable for functional quilts.
Ultimately, the choice between hand quilting and machine quilting stitches depends on personal preference, project size, desired appearance, and available time.
Some quilters even combine both techniques, using hand quilting for intricate details and machine quilting for larger areas. Exploring and experimenting with both methods can help you find the approach that suits your style and project needs.
Conclusion:
Sewing designs on quilts is a creative and rewarding process that allows you to personalize and enhance your quilting projects.
How to sew designs on quilts well whether you choose hand quilting or machine quilting, the key is to select a design that complements your quilt’s theme and style. Take the time to plan your design, gather the necessary materials, and follow the step-by-step instructions.
Remember to leave enough inch space from the left and right sides to maintain balance and symmetry. With practice and experimentation, you’ll develop the skills and confidence to sew beautiful designs on your quilts, transforming them into stunning works of art. So, embrace your creativity, enjoy the journey, and let your stitches tell a story through your quilt designs.
FAQs:
Q 1: What Are Some Popular Design Options For Sewing On Quilts?
A: There are numerous design options to consider, such as stars, flowers, geometric shapes, animals, or abstract patterns. You can also explore traditional quilting motifs like feathers, swirls, or stippling.
Q 2: What Materials Do I Need To Sew Designs On Quilts?
A: The materials you’ll need include a quilt top, batting, backing fabric, quilting thread, quilting needle, quilting hoop or frame (optional), marking tools (optional), and a ruler or measuring tape.
Q 3: How Do I Transfer A Design Onto The Quilt Top?
A: You can transfer a design onto the quilt top by using various methods like quilting stencils, freehand drawing, or marking tools like washable fabric markers or chalk.
Q 4: Should I Hand Quilt Or Machine Quilt The Designs?
A: The choice between hand quilting and machine quilting depends on personal preference and the desired outcome. Hand quilting offers a traditional, handcrafted look, while machine quilting provides efficiency and versatility. Consider your skill level, project size, and time constraints when making this decision.
Q 5: How Do I Secure The Layers While Sewing The Designs?
A: To secure the layers, you can use basting techniques like safety pins or basting spray to hold the quilt top, batting, and backing fabric together. This ensures that the layers stay in place while you sew the designs.
Q 6: How Do I Ensure Symmetry And Balance In My Quilt Designs?
A: It’s important to plan your design layout and consider the overall balance and symmetry of your quilt. Measure and mark equal distances from the left and right sides to ensure your design is centered. Use a ruler or measuring tape to maintain consistent spacing between design elements.
Q 7: Can I Combine Different Design Techniques In One Quilt?
A: Absolutely! Mixing various design techniques can add depth and visual interest to your quilt. You can combine hand quilting with machine quilting, incorporate appliqué elements, or experiment with different stitch patterns and textures. The key is to ensure that the design elements complement each other and contribute to the overall aesthetic of your quilt.

