Webbing is a strong, woven ribbon made from materials like nylon, polyester, or cotton. It’s commonly used in outdoor gear like backpacks, tents, and hammocks. There are several types of webbing available. I will share some of my personal experiences on how to sew webbing by hand to help you explain what webbing is and the different types. In this article, we will discuss how to sew webbing by hand in types with detailed step-by-step processes.
Types:
- Nylon webbing
- Polyester webbing
- Cotton webbing
Nylon Webbing:
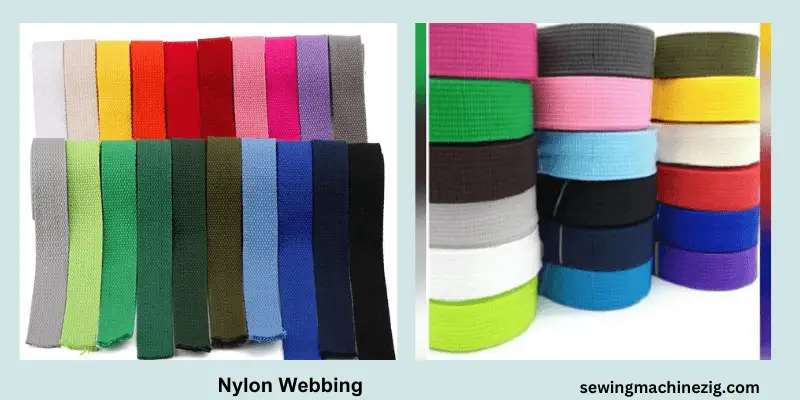
First, let’s talk about nylon webbing. This is the most common type of webbing and is known for its strength and durability. I once worked at a camping store where we used nylon webbing to repair and customize backpacks and we have also taught newbies how to sew webbing by hand like tents for customers. It’s also commonly used in dog collars and leashes because of its strength.
How To Sew Nylon Webbing By Hand?
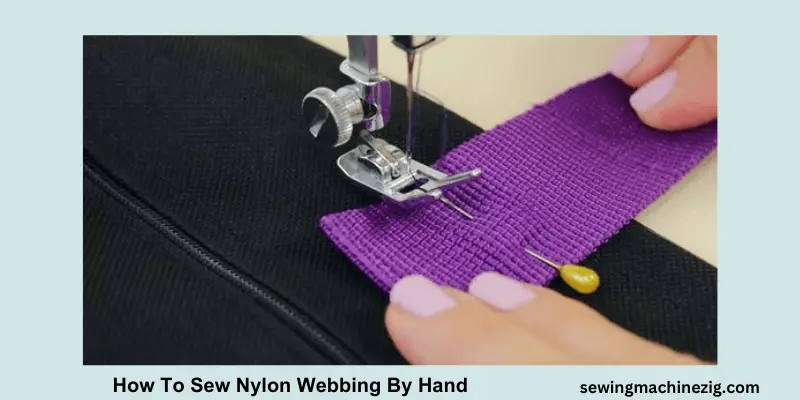
Sewing nylon webbing by hand will be more challenging than using a sewing machine, but it’s still possible with a few tips and tricks. Let me share some personal experiences to help you how to sew webbing by hand and explain how to do it. Sewing nylon webbing by hand can be a great option if you don’t have access to a machine or need to make a repair with the right needle, thread, and technique, you can create strong, durable stitches.
Materials:
- Nylon webbing
- Heavy-duty needle (size 16 or 18)
- Heavy-duty thread (nylon or polyester)
- Scissors
- Measuring tape
- Pins or clips (optional)
Steps:
- Measure Nylon Webbing:
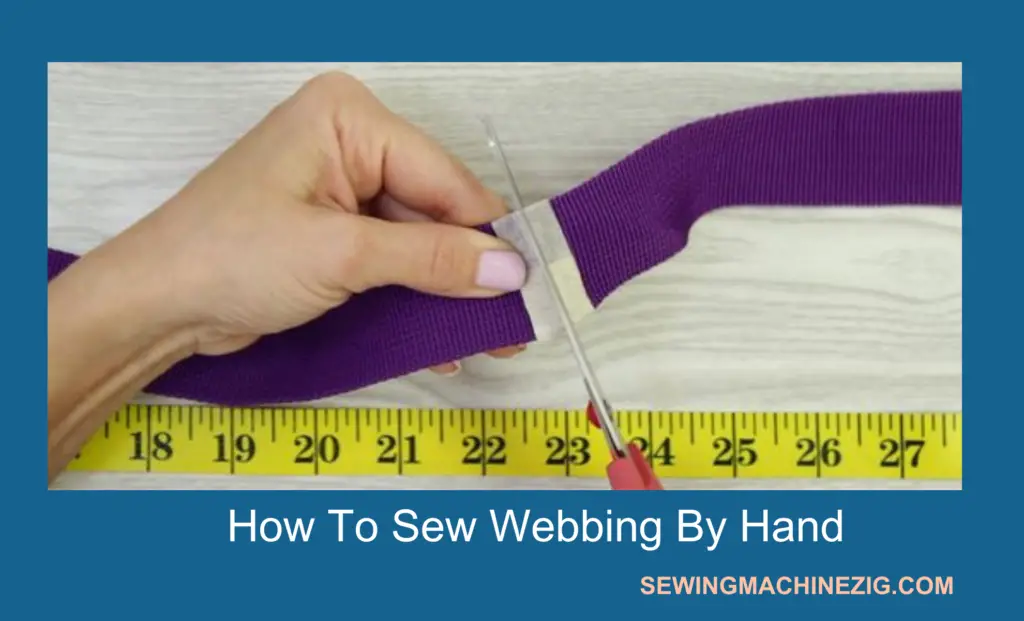
Measure the length of nylon webbing you need for your project and cut it to size using scissors.
- Thread the Needle:
First, it’s important to use the right type of needle and thread when sewing nylon webbing by hand. A heavy-duty needle, like a leather needle, will be able to handle the thickness of the webbing, knot the end, and trim the excess.
- Secure the Thread to the Webbing:
When it comes to the sewing technique, you want to use a backstitch to ensure that the stitches are strong and won’t come apart.
- Continue Stitching:
To do a backstitch, simply stitch forward through the webbing, then stitch back through the same holes you just made. This creates a “backstitch” that will hold the webbing securely in place.
- Use Pin or Clip the Webbing:
It can be challenging to keep the webbing in place while you’re stitching. I have found that using clips or pins to hold the webbing in place can be helpful, as can using a thimble to protect your fingers from the needle.
- Pair of pliers: (Optional)
Use a small pair of pliers to help pull the needle through the webbing if it gets stuck. This can be helpful if you’re working with thicker webbing. (Optional)
With these steps, you should be able to sew nylon webbing by hand in a way that will make it strong and durable for any use.
Polyester Webbing:
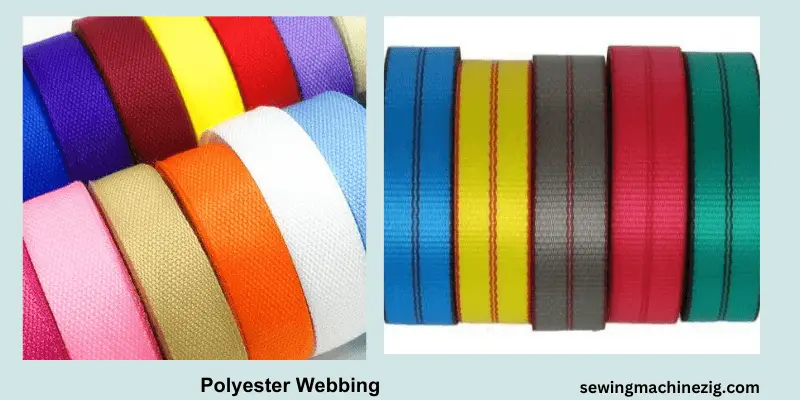
Polyester webbing is a type of strong, durable strap made from polyester fibers. Polyester webbing is another popular choice. It’s similar to nylon in terms of strength and durability, but it’s more resistant to water, mildew, UV radiation, and moisture. Another benefit of polyester webbing is that it’s easy to clean and maintain.
Polyester webbing is a versatile and reliable material that can be used polyester webbing to create straps for a kayak carrier or fashion accessories. It’s a great choice for a strong and durable strap. Webbing from polyester can be very interesting and I will also teach you how to sew webbing by hand. It’s commonly used for a variety of applications, including outdoor gear, industrial equipment, and even fashion accessories.
Another benefit of polyester webbing is that it’s easy to clean and maintain. You can simply wash your polyester webbing straps in the washing machine with mild detergent and they came out looking like new.
Polyester webbing can be used in polyester webbing for a variety of projects, such as creating adjustable straps for backpacks and making custom dog collars. One of the things I love about polyester webbing is that it comes in a wide range of colors and patterns, making it easy to find the perfect style for your project
How to sew Polyester webbing by hand?
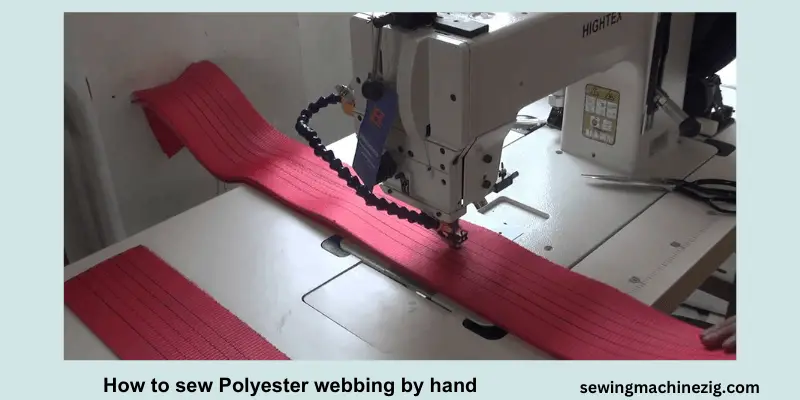
Sewing polyester webbing is almost the same as sewing nylon webbing as I mention above, but still, if you want to add some more tools and tricks then it’s up to you.
Materials:
- Polyester webbing
- Heavy-duty needle (size 16 or 18)
- Heavy-duty thread (polyester or nylon)
- Measuring tape or ruler
- Pins or clips (optional)
Steps:
Step 1: Prepare the Polyester Webbing:
Measure and cut the polyester webbing to the desired length and width for your project.
Step 2: Thread the Needle:
Thread a heavy-duty needle with polyester or nylon thread. Tie a knot at the end of the thread, leaving a tail of approximately 1 inch.
Step 3: Secure the Thread:
Insert the needle through the end of the webbing, pulling the thread through until the knot rests against the webbing. Take several small stitches to secure the thread in place.
Step 4: Choose a Stitching Pattern:
Choose the stitching pattern that best suits your project. Common stitching patterns include straight stitching, zigzag stitching, and bar tacking. For straight stitching, continue to step 5. For zigzag stitching or bar tacking, skip step 7.
Step 5: Straight Stitching:
Begin stitching along the edge of the webbing, starting approximately 1/8 inch from the end. Use a basic running stitch, taking even, small stitches that catch both sides of the webbing. Pull the thread tight with each stitch, but avoid pulling too hard, as this can stretch the webbing out of shape.
Step 6: Continue Straight:
Stitching Continue stitching along the edge of the webbing, maintaining a consistent stitch length and tension. When you reach the end of the webbing, take several small stitches to secure the thread and cut the thread, leaving a tail of approximately 1 inch.
Step 7: Zigzag Stitching or Bar Tacking:
For zigzag stitching, stitch back and forth across the webbing in a zigzag pattern, securing both sides of the webbing. For bar tacking, make a series of short, closely spaced stitches across the webbing to reinforce it in areas of stress or wear.
Step 8: Finish:
When you have finished stitching, take several small stitches to secure the thread and cut the thread, leaving a tail of approximately 1 inch. Optionally, you can use a lighter to melt the cut end of the thread, which will prevent it from unraveling.
With these steps, you should be able to sew polyester webbing by hand in a way that will make it strong and durable for any use.
Cotton Webbing:
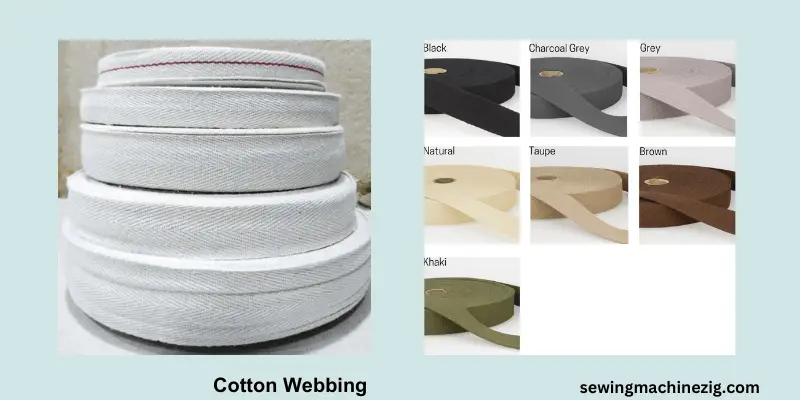
Cotton webbing is a type of durable strap made from cotton fibers. It is commonly used in a variety of applications, such as bags, belts, straps, fashion, and other types of accessories. Cotton webbing is known for its softness, breathability, and absorbency. One of the things I have to mention is that cotton webbing is soft and comfortable to wear, making it ideal for items that will be in contact with the skin.
Cotton webbing is also biodegradable and environmentally friendly, as it can decompose naturally without causing harm to the environment. Unlike synthetic webbing materials, cotton is able to absorb moisture, which can make it a great choice for items like sports bags or camping gear. The most interesting part about cotton webbing is that it’s easier to sew with hands, and it will be more interesting to know how to sew webbing by hand, cotton webbing can be used to make a yoga mat strap using cotton webbing, and it’s the perfect choice for keeping mat secure without slipping.
Another benefit of cotton webbing is that it can be easily dyed or printed with a variety of colors and patterns.
How To Sew Cotton Webbing By Hand?
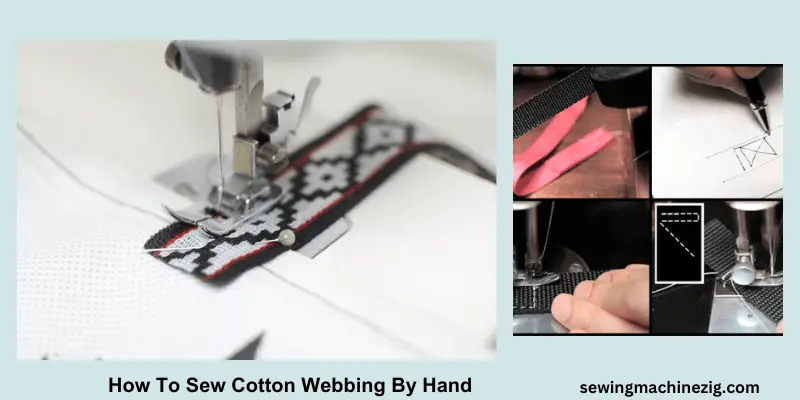
Sewing cotton webbing by hand is a straightforward process, but it does require some patience and attention to detail.
Materials:
- Cotton webbing
- Heavy-duty needle (size 16 or 18)
- Heavy-duty thread (cotton or polyester)
- Scissors
- Measuring tape or ruler
- Pins or clips (optional)
Steps:
Step 1: Measure and Cut the Cotton:
Webbing Using a measuring tape or ruler, measure and mark the cotton webbing to the desired length and width for your project. Use a sharp pair of scissors to cut the webbing along the markings.
Step 2: Choose the Right Thread and Needle:
Select a heavy-duty needle that is compatible with your cotton webbing’s thickness. Choose a heavy-duty thread, such as cotton or polyester, that can withstand the stress and wear of your project.
Step 3: Thread the Needle:
Thread the needle with a length of thread and tie a knot at the end, leaving a tail of approximately 1 inch.
Step 4: Start Sewing the Webbing:
Fold one end of the cotton webbing over by approximately 1/8 inch, and place it under the needle. Begin sewing along the edge of the webbing, starting approximately 1/8 inch from the folded edge.
Step 5: Sew the Webbing Using Running Stitch:
Use a basic running stitch, taking even, small stitches that catch both sides of the webbing. Pull the thread tight with each stitch, but avoid pulling too hard, as this can stretch the webbing out of shape. Stitch along the entire length of the webbing, maintaining a consistent stitch length and tension.
Step 6: Finish Sewing the Webbing:
When you reach the end of the webbing, take several small stitches to secure the thread and cut the thread, leaving a tail of approximately 1 inch. Optionally, you can use a lighter to melt the cut end of the thread, which will prevent it from unraveling.
Step 7: Reinforce the Webbing: (Optional)
If you want to reinforce the cotton webbing, you can use zigzag stitching or bar tacking. For zigzag stitching, stitch back and forth across the webbing in a zigzag pattern, securing both sides of the webbing. For bar tacking, make a series of short, closely spaced stitches across the webbing to reinforce it in areas of stress or wear.
Step 8: Clean up the Webbing:
Trim any loose threads or excess fabric from the webbing, using scissors or a sharp blade.
Note:
It’s important to plan out your stitching pattern. Whether you’re attaching the webbing to another material or creating a loop or strap, it’s important to plan out your stitching pattern to ensure that it’s strong and secure.
With these steps, you should be able to sew cotton webbing by hand in a way that will make it strong and durable for any use.
Useful Tips:
Use a thimble to protect your fingers while sewing.
Use a heavy-duty needle that can handle the thickness of the webbing.
Choose a thread that is strong enough to withstand the stress and wear of your project.
Mark a straight line along the edge of the webbing before stitching to help keep your stitches even.
Take breaks as needed to prevent hand fatigue.
Conclusion:
How to sew webbing by hand, Well that is a simple process that can be done with just a few basic tools. By following the steps outlined above, you can create strong and durable seams that will hold up to regular use. Remember to keep your stitches straight and even, and not pull the fabric too tight. With a little practice, you’ll be able to sew cotton webbing by hand quickly and easily, and you’ll have a useful skill that can come in handy for a variety of projects. I hope now you’re fully aware of how to sew webbing by hand.
FAQs:
What is webbing, and why is it used for sewing?
Webbing is a strong, woven fabric that is commonly used in various sewing projects, such as straps, belts, bags, and backpacks. It is known for its durability and strength, making it ideal for items that need to withstand stress and wear.
Can you sew webbing by hand?
Yes, you can sew webbing by hand using a heavy-duty needle and thread. While it may take more time and effort than using a sewing machine, hand-sewn webbing is just as secure and durable, that’s how you will learn how to sew webbing by hand.
What type of thread should I use for sewing webbing?
It’s best to use a heavy-duty thread, such as cotton or polyester, that can withstand the stress and wear of your project. You can also choose a color that matches or complements the webbing to create a cohesive look.
What type of needle should I use for sewing webbing?
It’s important to use a needle that is compatible with your webbing’s thickness. For most webbing, a heavy-duty needle with a size of 16 or 18 should work well. Be sure to use a thimble to protect your fingers from the thick fabric.
How do I sew webbing using a running stitch?
A running stitch is a simple stitch that is easy to sew by hand. To sew webbing using a running stitch, start by folding one end of the webbing over by approximately 1/8 inch and placing it under the needle. Take even, small stitches that catch both sides of the webbing, pulling the thread tight with each stitch. Stitch along the entire length of the webbing, maintaining a consistent stitch length and tension.
How do I reinforce webbing to make it stronger?
If you want to reinforce webbing, you can use zigzag stitching or bar tacking. For zigzag stitching, stitch back and forth across the webbing in a zigzag pattern, securing both sides of the webbing. For bar tacking, make a series of short, closely spaced stitches across the webbing to reinforce it in areas of stress or wear.
Can I sew webbing using a regular sewing machine?
Yes, you can sew webbing using a regular sewing machinehttps://sewingmachinezig.com/how-to-use-a-mini-handheld-sewing-machine/https://sewingmachinezig.com/what-is-monogramming-sewing-machine-2023/https://sewingmachinezig.com/what-is-monogramming-sewing-machine-2023/https://sewingmachinezig.com/what-is-monogramming-sewing-machine-2023/, but you may need to use a heavy-duty needle and thread now adjust the tension and stitch length to accommodate the thickness of the webbing.

